Distributing a Survey
This article reviews the different methods for distributing your survey to respondents.
What's on this page?
- Creating a Campaign
- Email/SMS Campaigns
- Survey Link Campaigns
- Campaign Settings
- Quotas
- Pausing and Closing a Campaign
Creating a Campaign
To distribute your survey to respondents, you'll first need to create a Campaign within your project. A campaign is a way to group together respondents/responses; each campaign has a unique survey link, quotas, language, and outreach method. You can also use separate campaigns for various waves of a survey.
To create a campaign, navigate to the Distribute tab in the side navigation menu. Click on the "New Campaign" button in the top right corner of the page to create a new campaign.

Depending on your account settings, you may see some options showing the various types of campaigns you can create:

Email or SMS
Send survey invitations to your contacts in bulk via email or SMS, in conjunction with SightX's Communities feature. You can filter sends based on community profiling data and previous survey engagements, send reminders, and easily send to additional contacts within your community.
If you do not see this option in your account and are interested in utilizing our bulk-send capabilities, contact your SightX rep.
Online panel
Distribute your survey to millions of vetted people worldwide. SightX works with a variety of online panels to allow you to connect with virtually any audience you need to research.
To learn more about distributing to online panels, check out this article.
Survey link
Get a survey link or QR code to distribute yourself.
Email/SMS Campaigns
Setting up an email/SMS campaign
First, be sure you've uploaded contact information to a SightX community. Learn more in this article.
On the Email/SMS tab of your project, first choose the community you want to distribute to. In the dropdown, you can see the number of contacts in the community that have an email address and that have a phone number.

In the case that you don't want to send invitations to the entire community, you can click "Add filter criteria" to narrow down your segment of contacts based on community properties that you've uploaded (age, gender, state, etc). You can also limit how many contacts in the segment are invited at one time, by manually entering the number of contacts in the segment who should be invited.
Next, configure your email or SMS survey invitation message. Best practice is to remind your contacts of who you/your brand are and why they are being contacted so that they do not ignore your message as spam. You can read specific best practices for SMS messages in this article.
Tip: Each campaign can only include one outreach method - either email or SMS. To send both types of messages, create two separate campaigns.
We recommend sending yourself a test email or SMS message to confirm that the message is displaying in the way you want it to.
When your survey build is complete and you're ready to send out your survey invitations, click the "Send invitations" button on the email/sms tab in the campaign to distribute your survey to your specified contacts!
Monitoring an email/SMS campaign
Once your invitations have been sent, you can monitor participation from the email/SMS tab in the campaign.

Send reminders
You can send a reminder email to contacts who haven't responded yet by clicking "Send reminder" next to their outreach listed in the table. You'll have an opportunity to edit the message before it is sent to the contacts who have not yet completed the survey.
Send to additional contacts
If you did not send invitations to all of the available contacts in your segment, you can send invitations to additional contacts with a new outreach. Click the button to "Send to additional contacts", and from there you can specify how many new contacts should be invited, as well as edit the invitation message.
Survey Link Campaigns
To obtain your survey links, navigate to the Links page using the left hand navigation menu. Here, you'll see a Test link, a Public link, a Public QR code, and an Administration Mode link.

Test Link: The test link allows you to test the survey flow without recording responses in the project.
Public Link: Responses captured using the public link will appear in the project analysis. After a respondent submits their survey answers, they'll be shown a "Thank You" page and the survey will close out.
Public QR Code: QR codes are images that direct people to websites (such as a SightX survey) when they aim their smartphone camera at the image. A QR code is useful for distributing a survey through non-digital means such as on a poster for people exiting an event.
Administration Mode: Responses captured using the administration mode link will appear in the project analysis. After a respondent submits their survey answers, they'll be shown a "Thank You" page and the survey will reload from the beginning. This is useful for surveys administered in-person using a single device for many survey-takers.
Important note: When using administration mode, ensure that Single Use Link is toggled to "off" in the campaign settings.
Initially, all of the live survey links will be disabled until the campaign is launched. You should use the Test Link for all testing until you're done making edits to the survey and are ready to record live response data.
To launch your campaign and access the live survey links, change the campaign status from "Draft" to "Launch" using the button in the campaign header.
Important note: Once you launch your campaign, you'll be prompted to confirm before you make any changes in the survey Build section. Some survey changes cannot be made after launch including changing a question type, linking an audience, or randomizing the order that questions take place in on a page.
Campaign Settings
On the settings page, you can rename your campaign, or make other configurations changes. If you make any changes, be sure to click the Save button in the top right corner.

Helpful Hint: Be cautious using the Campaign Expiration setting. If you set an expiration date for your campaign, respondents won't be able to enter the survey after that date and time, and your survey will stop collecting data.
Quotas
To set a limit on the number of responses you want in your survey, or to set limits on respondents from particular groups based on their answers to survey questions, you'll need to set up Quotas.
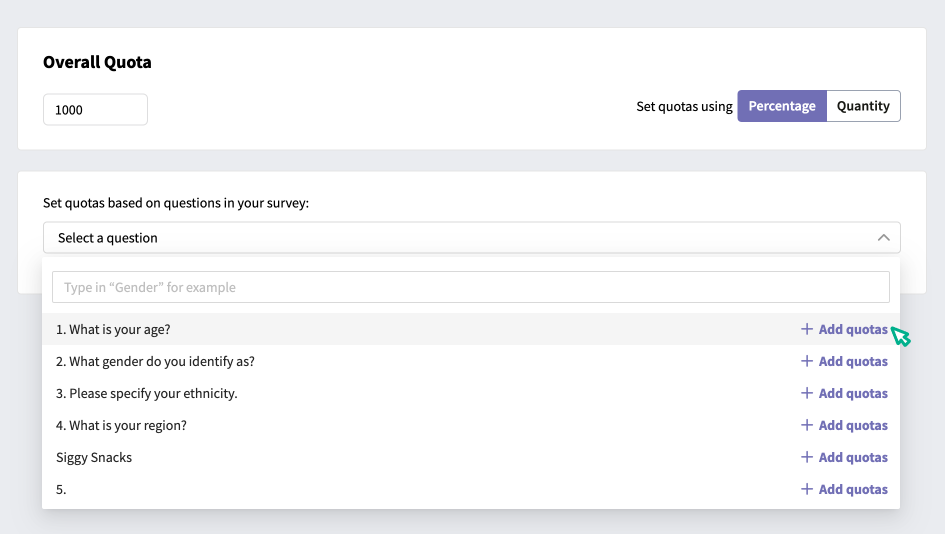
First, navigate to the Quotas page in the left navigation menu. You'll see a space at the top of the page to enter the total number of respondents you want to participate in your survey, called the Overall Quota. After you enter the number of respondents you're looking for, you'll be able to set limits on respondents based on their answers to questions in the survey.
To set a quota on a question, find the question you want to set quotas on in the dropdown, and click "Add quotas".

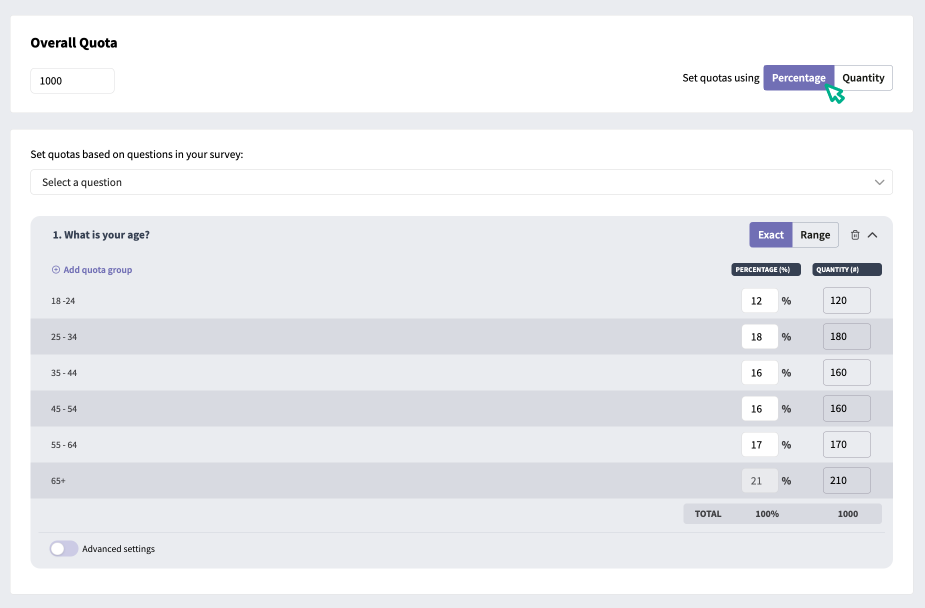
You can then enter the percentages or nominal quotas for each group of respondents by toggling between the "Percentage" and "Quantity" options at the top of the page.

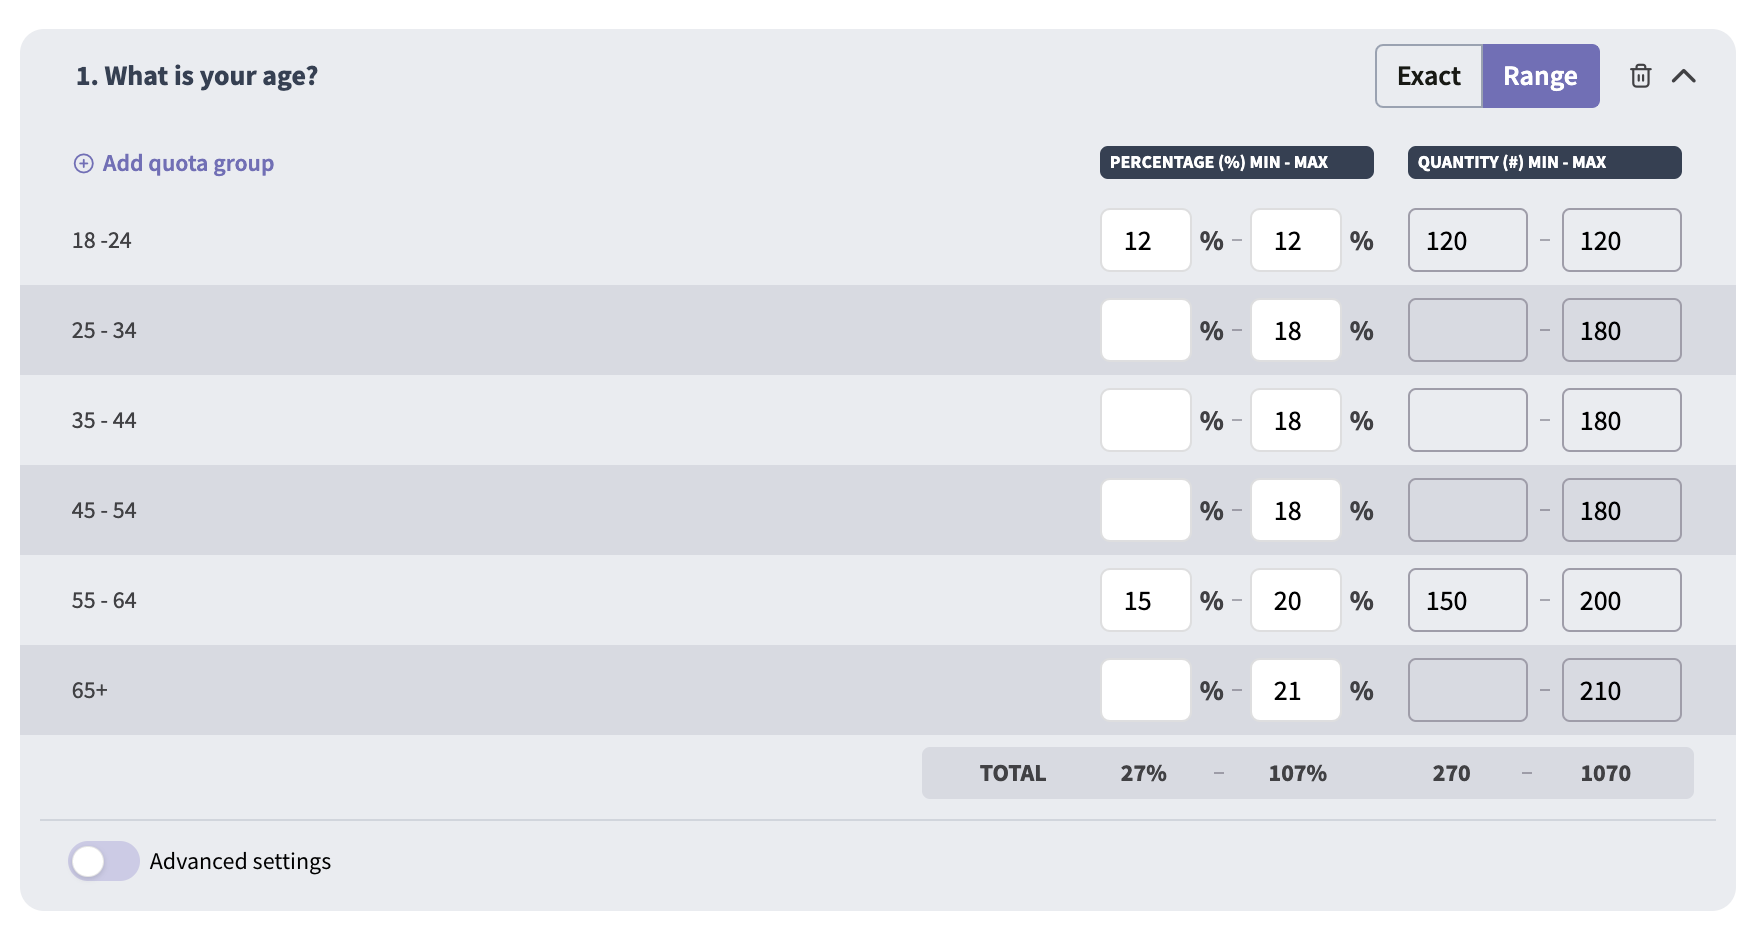
You can also toggle between "Exact" and "Range" quotas. Exact quotas allow you to set an exact number of respondents you want from each group, while Range quotas allow you to set a minimum or maximum number of respondents you're looking for from each group.

When your survey is in field and a quota has been filled, respondents from that group will no longer be able to enter the survey. When the overall quota has been met, no respondents will be able to enter. You can update your quotas any time during fielding. To learn more about quotas and nested quotas, click here.
Pausing and Closing a Campaign
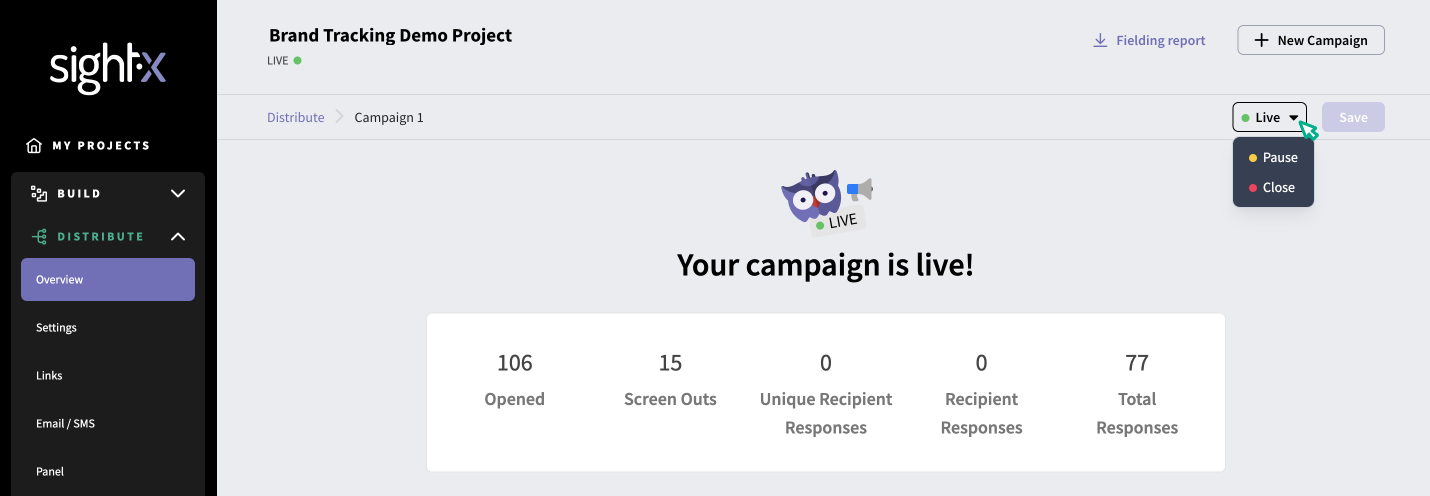
While a campaign's status is "Live", respondents can access the survey. If you want to pause access to the survey, you can pause the campaign by changing the campaign status in the header of the campaign page.

If you want to permanently close a campaign, change the status to "Close". Closing a campaign cannot be reversed and will permanently disable the survey link associated with that campaign. However, if you've closed a campaign and want to reopen the survey, you can create a new campaign within the project and use that survey link instead.
When you've completed your response gathering and are ready to start reviewing your survey data, click here to learn the basics of analyzing data in SightX!