Building a Survey
This article outlines the basic steps to create a survey in SightX.
What's on this page:
- Creating a Project
- Adding Questions to Your Survey
- Adding Pages to Your Survey
- Previewing Your Survey
- Adding Logic to Your Survey
- Adding Design Elements to Your Survey
- Translating Your Survey into Multiple Languages
- Survey Options
Creating a Project
When you log into SightX, you'll land on the Home page. To create a new project, select from Start with a prompt, Browse survey templates, or Start from scratch.
Once you have created your new project, the platform will automatically direct you to the survey Build module within the project to begin building your survey.
Adding Questions to Your Survey
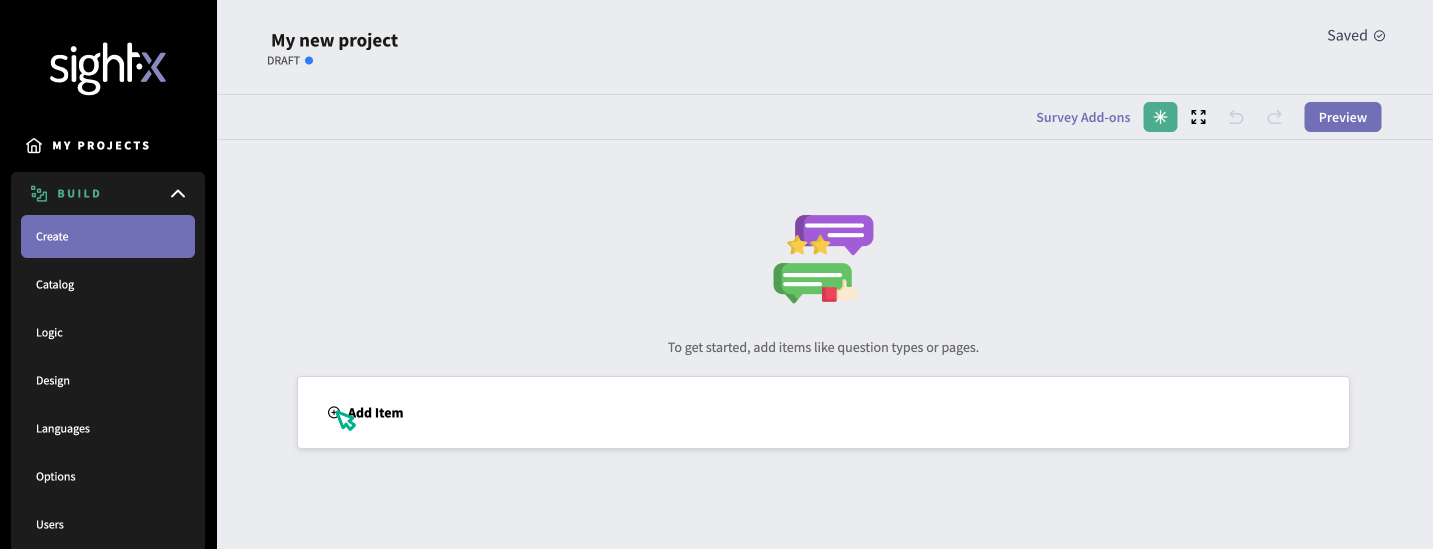
When you create a new project, the platform will navigate you to the Create page within the survey Build module. From here, click "+ Add Item" in the center of the page to open the menu of survey questions, experiments, and pages that you can add to your survey.
Once you select a question type, you'll enter the corresponding question text and answer options. Depending on the type of question (multiple choice is shown below), you'll see various configuration options such as places to add images, option randomization, multiple selection, etc.
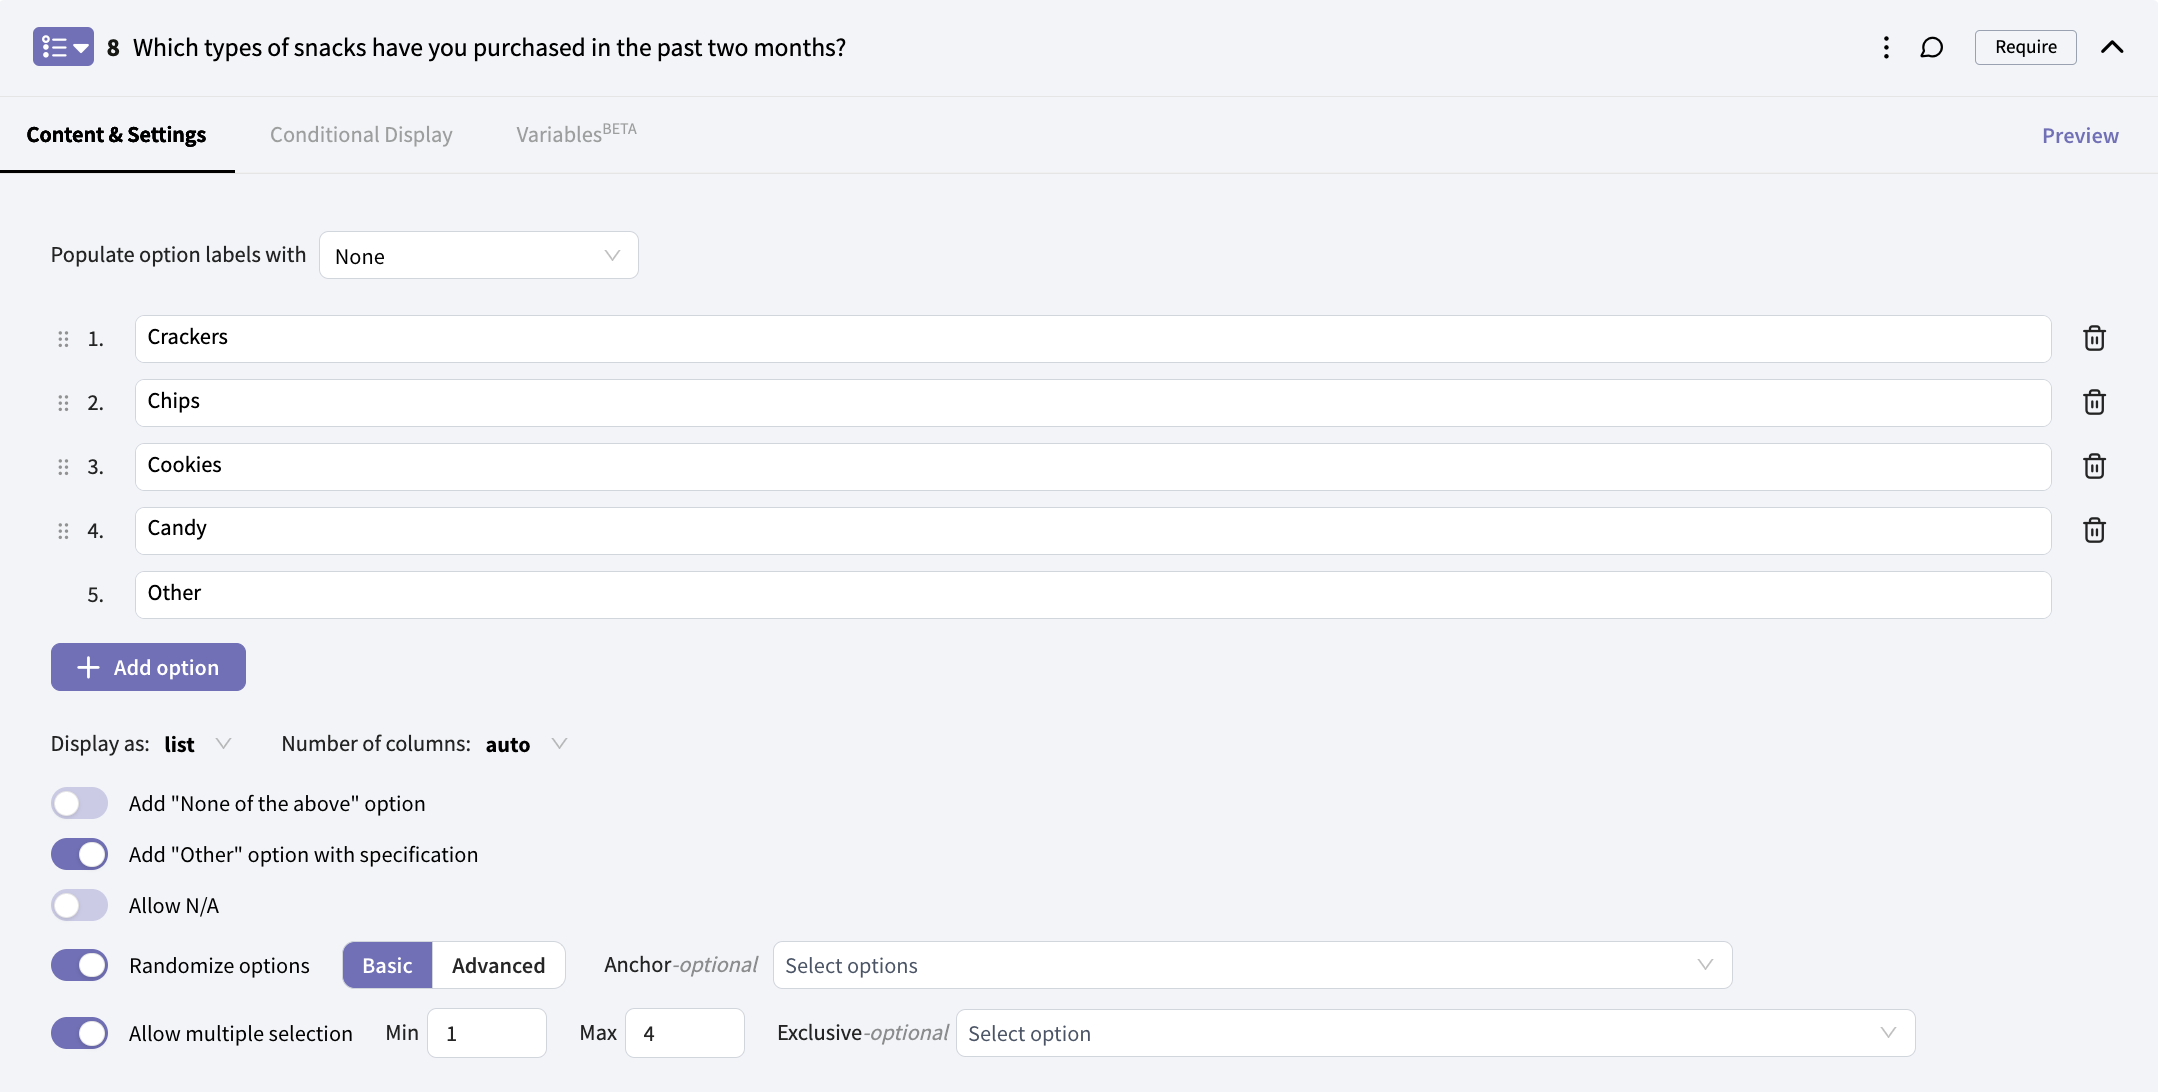
Tip: If you've already written your survey, you can copy and paste a list of answer options from a document into SightX. Simply place your curser in the text box for the first option and right-click "paste" or use the keyboard shortcut.
Adding Pages to Your Survey
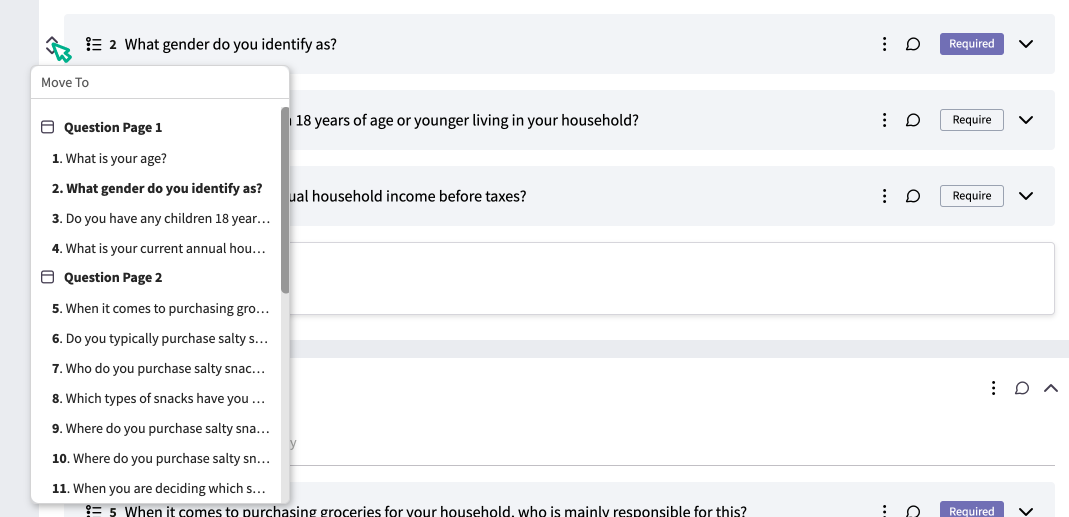
You may want to organize your survey into multiple pages for respondents to navigate through. You can add question pages by clicking "+ Add Item", and selecting one of Welcome Page, Thank You Page, or Question Page. To reorder an element within a page or move it to another page, hover over the element and click the double arrow icon that appears to the left of the element.
Previewing Your Survey
To preview your survey, click the "Preview" button in the upper right corner of any page in the Build section. To preview a single question, click the "Preview" button in the upper right corner of the question.
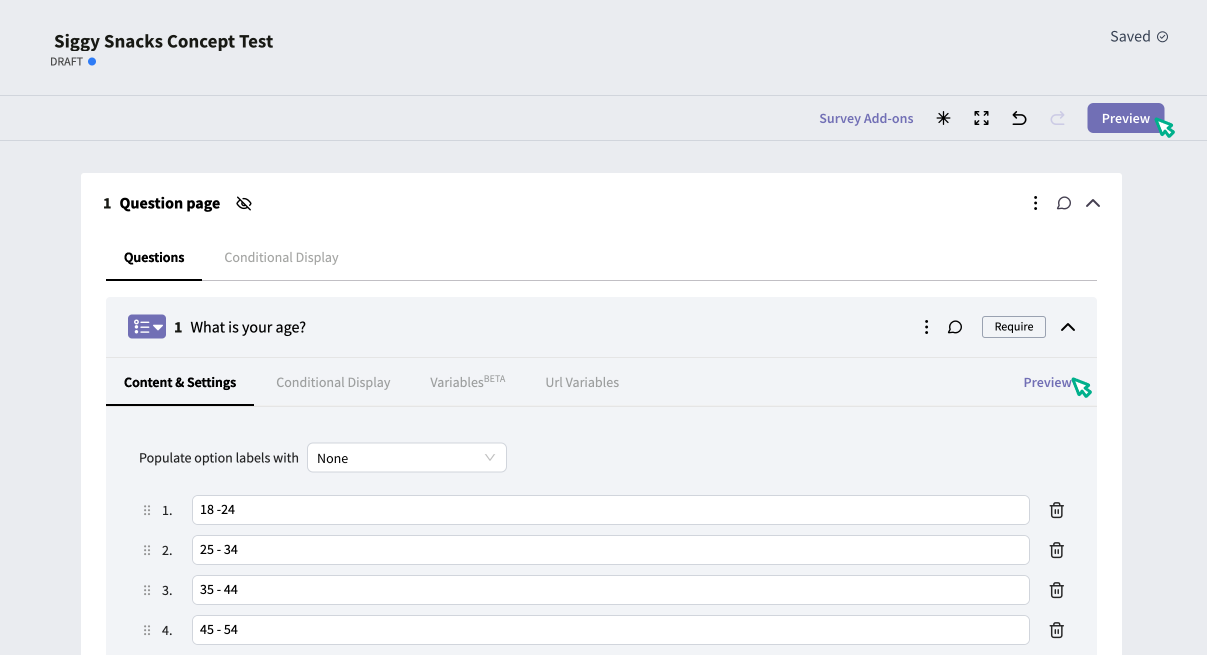
Tip: If you make a mistake while building your survey or want to undo a change, you can undo or redo actions using the undo and redo buttons in the upper right corner of the screen.
Adding Logic to Your Survey
You may want to disqualify respondents from your survey based on their answers to screening questions, or to direct respondents on different survey paths based on their answers. To do this, you'll need to add survey logic. To add logic, navigate to the Logic page in the left-hand page navigation menu.
To add logic to a question, hover over the question on the logic page and select "Add logic". From there, you can build out your logic conditions.
 In the example above, respondents who select the option "Someone else is responsible" will be disqualified from the survey.
Adding Design Elements to Your Survey
In SightX, you can customize the look and feel of your survey based on your preferences or brand guidelines. Navigate to the Design page using the left navigation menu, and you'll see several configuration options for your survey like adding a logo, changing the color of the survey backgrounds, buttons, and text, and changing the fonts used in the survey.
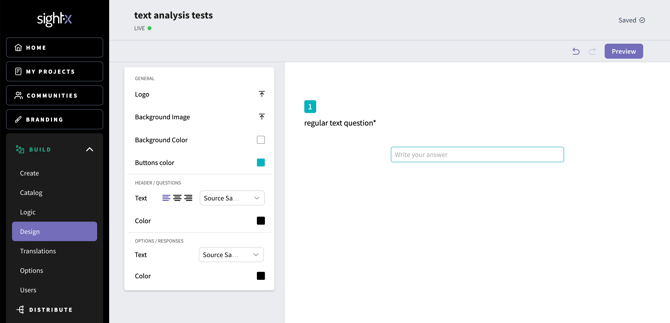
You can preview your design changes in the window to the right of the design configuration options.
Translating Your Survey into Multiple Languages
SightX is integrated with Google Translate to instantly translate your survey and store multiple translations per survey. Click on the Languages page in the left-hand navigation menu to begin.
Survey Options
To view and edit the display options for your survey, click the Options page in the left-hand navigation menu. You'll see several display configurations that you can edit, such as the button and progress bar styling, survey pagination settings, and navigation settings.
Survey Progress Options

Desktop and Mobile Paging
You can configure different paging options that will define how respondents move through your survey, and you can set different options for respondents on desktop and mobile devices.
By Page
Respondents will be shown the questions in pages, as defined by the page breaks on the Create tab. If a page contains skip logic, conditional display, or an experiment, the survey will be shown in multiple pages where needed to accommodate the specified logic, etc. For example, if there are three questions on a page and the third question has conditional display based on a respondent's answer to the first question, the respondent will be shown the first two questions on the page and then will be shown the third question on the next page.
By Question
Only one question will be shown per page in the survey, even if pages and page breaks are specified on the the Create tab.
None
All survey questions will be shown on one page, regardless of the page breaks set on the Create tab. If the survey uses skip logic, conditional display, or an experiment, the survey will be shown in multiple pages where needed to accommodate the specified logic, etc.
For example, if the "None" option is chosen and Q3 has skip logic applied, Q1 through Q3 will show on one page, and then the rest of the questions will show in a second survey page.
When you're finished building your survey, it's time to to distribute your survey to respondents. Click here to learn how!